How to Save a Facebook Live Video, During or After the Stream
By the CutThisX team··2 min read
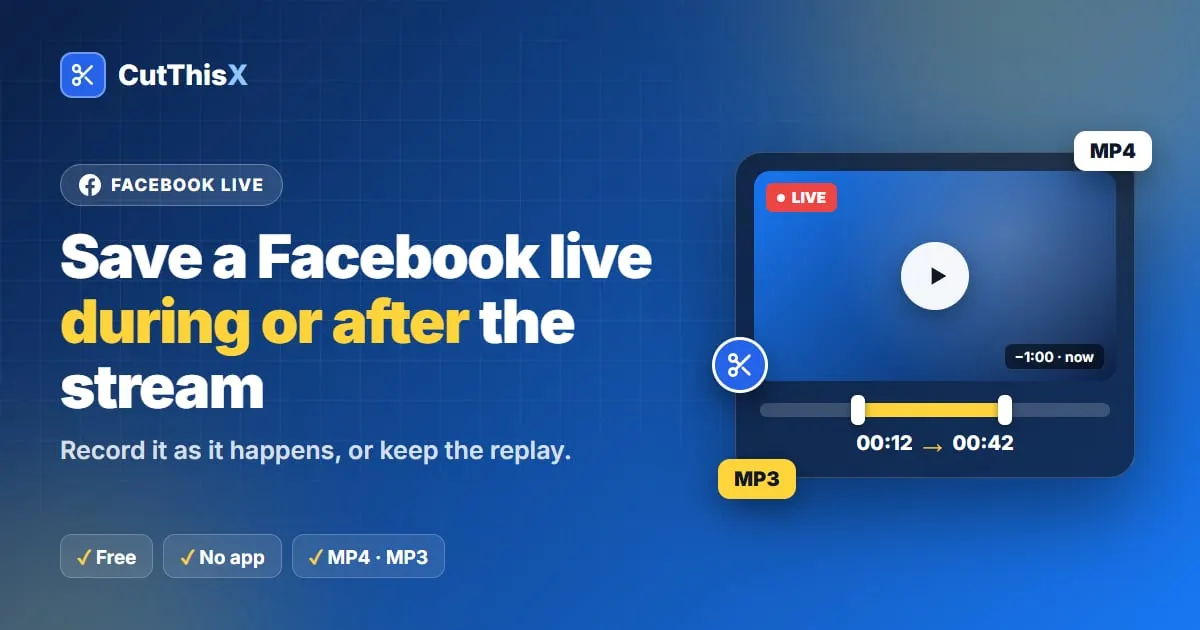
Saving a Facebook live is trickier than saving a normal video: while the stream is on air, Facebook only keeps a few seconds of rewind. Here is what works, during the live and after it.
During the live: start recording early
- Copy the link of the live video (Share → Copy link).
- Paste it in the Facebook live clipper.
- From the moment the live opens there, CutThisX records the stream for you, keeping up to about 30 minutes of it.
- Use Next 30s / 1m / 5m to capture what comes next, or, once a few minutes are recorded, Last 30s / 1m / 5m or the timeline to pick a moment.
- Download as MP4, or MP3 for the sound only.
The important part: the recording only covers the time since you opened the live in the clipper. If you expect something worth keeping (a goal, a speech, an announcement), open the live early.
After the live: use the replay
When the broadcast ends, Facebook usually publishes a replay on the page or profile. Paste the same link again. The replay behaves like a normal video:
- cut any part of it in the Facebook video cutter: only the selected section is downloaded, even from a recording that lasts hours;
- or download the whole replay from the list under the cutter.
Which links work
- Live and replay links: facebook.com/…/videos/…, facebook.com/watch/?v=…
- Share links: facebook.com/share/v/…
- Short links: fb.watch/…
Why some lives can't be saved
Only public lives work. Lives in private groups, or shared with friends only, are not accessible. A quick test: open the link in a private browser window. If it plays without logging in, it can be saved.
Keep only the sound
Sermons, lectures, concerts: choose MP3 to keep the audio of the part you selected, at 320 kbps.
Please only save lives you own or have permission to use.
Ready to try it?
Open the tool